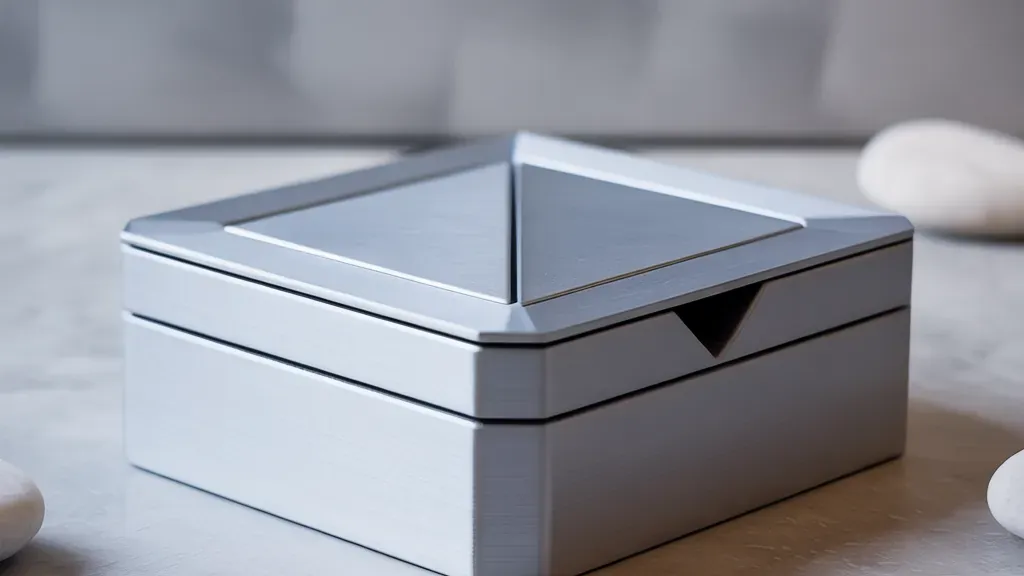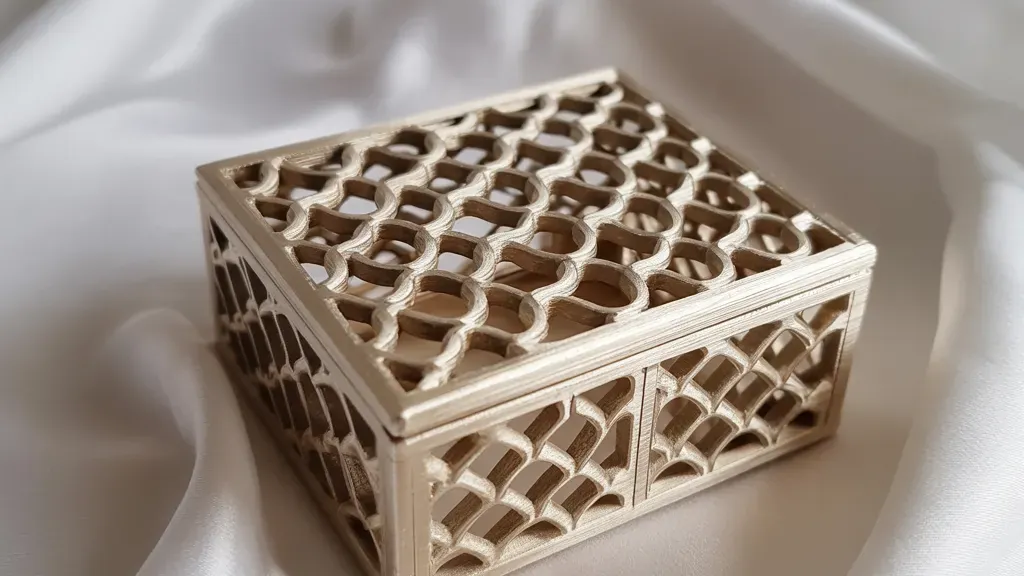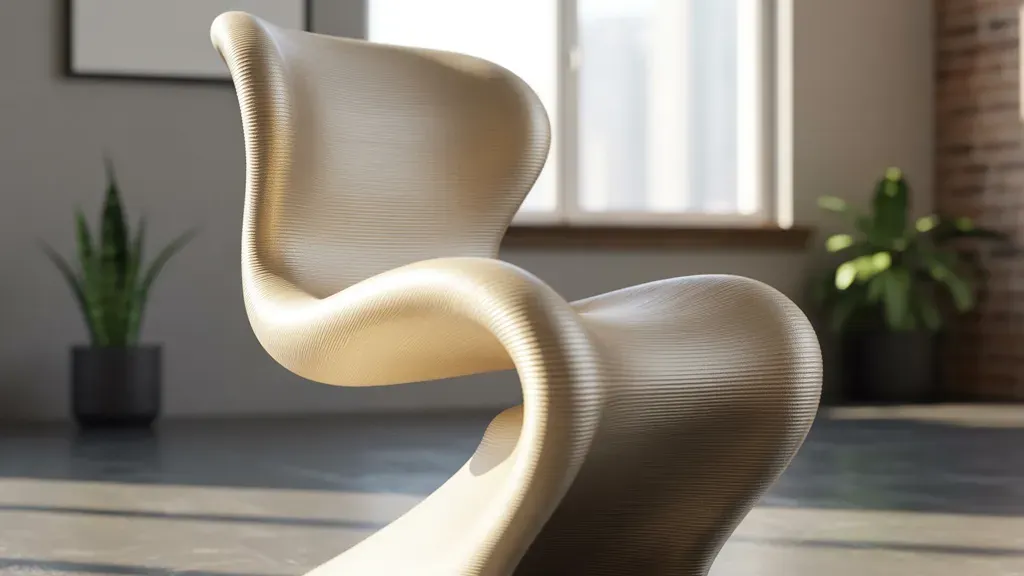
3D printed props for events and brand activations in Dubai
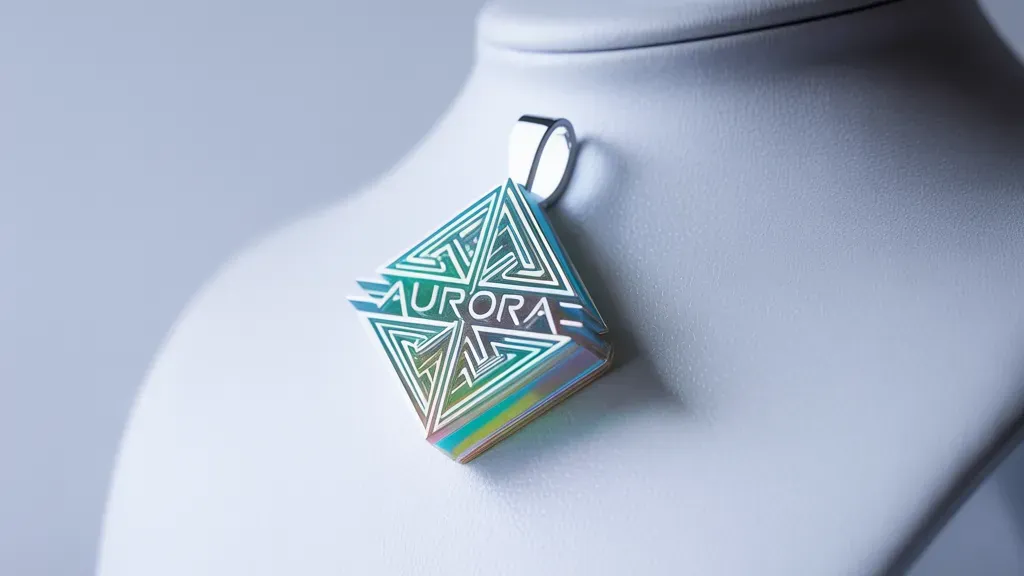
A prop for a brand activation has a short, rough life. It stands in a mall atrium or a hotel ballroom for three days, a few thousand people walk past it, a few hundred put a hand on it, somebody's child tries to climb it, and then it goes back into a crate. None of that resembles how a prototype gets used, and the spec should not be the same either.
Most event briefs that reach our workshop in Dubai arrive deadline first and shape second. The shape is usually the easy part. The date is what decides material, wall thickness, where the piece splits, and how many rounds of the sanding and priming loop we can honestly fit in before the truck leaves.
One boundary worth naming at the start: we do not build stands. The contractor builds the structure, the joiner builds the walls, and we make the objects that sit on and around them. That runs from a 5 cm giveaway to constructions around 15 m assembled out of printed sections.
What an activation actually asks of a prop
Before any conversation about material, we want to know how the object will be treated on the floor. A brief that answers the following gets a straight answer back the same day:
- whether visitors will touch it, lean on it or pose with it
- indoors under stand lighting, or outdoors in sun and wind
- one event, or a tour of four cities over six months
- whether it has to read from ten metres or survive a phone camera at thirty centimetres
- whether anything mounts to it, hangs off it or plugs into it
That last one catches people out. A hollow printed shell is not a structural bracket. If a screen, a light or a shelf is landing on the prop, the load needs a metal or timber frame inside and the printed skin goes over it. Deciding that after the shell is printed means reprinting the shell.
The reading distance question moves the price more than anything else on the list. An object judged from ten metres can leave the bench with layer texture still visible on its flanks and nobody will know. An object that appears in every guest's phone photo at arm's length has to be filled, sanded and sprayed to the standard of a car panel.
Where the event schedule goes
Printing is rarely the long pole. A 1.5 m figure split into sections typically occupies several machines for a few days, and the machines run overnight without anyone watching them. The finishing on that same figure regularly takes longer than the printing did, because it cannot be parallelised the way printers can. One square metre of shell surface goes through the fill, sand, prime, inspect cycle three or four times, with a hard light raked across it between passes to find what the eye missed, and each pass has to dry before the next one starts.
The file eats schedule quietly. A mesh with holes in it, flipped normals, or a wall thickness of nothing where the designer drew a surface rather than a solid, has to be repaired before the slicer will produce a sane toolpath, and on a complex sculpt that repair is a day of work rather than ten minutes. Colour approval is the other silent delay: if a brand colour has to be matched and signed off, the sprayed sample goes back and forth and the piece waits at the primer stage until somebody replies.
Which is why a texture-visible display shape and a sprayed, colour-matched hero piece of identical geometry are different projects on the calendar.
FDM or SLA for event props
FDM does the heavy lifting on event work. It prints large, it prints in materials that tolerate heat and handling, and a sectioned FDM shell can be made hollow with internal ribs so a metre-tall letter weighs what one person can lift. Layer heights on big surfaces usually sit between 0.2 and 0.3 mm, and the visible result of that depends entirely on the geometry. On a vertical flank a 0.2 mm layer disappears from a metre away. On a shallow dome or a slowly turning shoulder the same layer height leaves a stepped tread over a millimetre wide, because each layer sits slightly inboard of the one below and a near-horizontal surface spreads that offset out. So the flattest, softest curves on a prop are where the filler and the bench hours go, and dropping to a finer layer height to fix it multiplies print time across every section.
SLA earns its place on small parts where detail is the whole point. Layer heights around 0.025 to 0.05 mm mean a 6 cm figurine comes off the machine looking finished, with facial features and fine engraving intact. The limits are chamber size and toughness. A cured resin part dropped on a marble floor cracks rather than bends, and pigmented photopolymer keeps reacting to UV long after post-cure, so a clear resin element in a sunlit atrium starts going yellow within weeks.
Plenty of props end up mixed. The body prints in FDM, the fine ornament and small repeated details print in resin, and they meet at the assembly bench. If you want the full comparison of how the processes differ before choosing, we wrote it up separately in FDM, SLA or SLS.
Choosing material for 3D printed props, scenario by scenario
PLA prints easily, holds detail well and is the wrong answer for most Dubai event work. Its glass transition sits around 60 °C, and a closed van standing in an uncovered car park here in July gets past that without effort. A PLA piece does not melt at that point, it goes soft and creeps under its own weight, which means the first thing anyone notices is a sagging joint or a drooping overhang that was straight when it left the workshop. We only use PLA for indoor pieces that travel in an air-conditioned vehicle and never sit in the sun.
PETG is the workhorse for props people touch. Glass transition around 80 °C, decent impact strength, prints large without the cracking ABS is prone to, and it takes paint well once scuffed. It does creep under sustained load, so a PETG shelf or a thin unsupported span will slowly bow over a month-long installation.
ABS handles heat better again, with a glass transition near 105 °C, but bare ABS in direct sun yellows and goes chalky as the surface degrades under UV. Indoors near hot lighting it is fine. Outdoors bare it is the wrong choice.
ASA is the one we default to for outdoor pieces. Chemically it is close to ABS, formulated specifically for UV and weather exposure, which is why it turns up on exterior automotive trim. The cost is on the printing side: it warps more, so it wants an enclosed heated chamber and slower work, and large flat sections still need careful geometry to stay flat.
Nylon, usually PA12, is for functional props: clips, living hinges, thin tough parts that get flexed hundreds of times by visitors. In the Gulf it comes with a condition attached. PA12 is strongly hygroscopic, and a spool left open on the bench overnight in Dubai humidity prints the next morning with popping, stringing and layers that peel apart under thumb pressure. Dried filament out of a sealed box with desiccant is the difference between a part and a write-off. Wet nylon also grows dimensionally as it takes up moisture, which matters when the part has to clip into something else.
Photopolymer resins cover the detail work and, in tough formulations, small functional parts. Treat all of them as light-sensitive and none of them as impact-resistant.
Worth saying plainly: the coating often matters more than the polymer. A UV-resistant clear coat over a sanded PETG surface does more for a piece's outdoor life than swapping to an exotic filament, and nothing outdoors in this climate is permanent. We would rather say that before installation than after.
Props bigger than the build chamber
Almost every hero piece is bigger than a printer, so it arrives as a modular assembly of sections. Where the splits go is a design decision, not a machine decision: the seam follows a line already present in the form, an edge, a fold, a change of plane, so that the joint hides in shadow rather than running across a cheek or a logo. Registration is built in, usually dowels or printed keys, so the sections only go together one way at 2 am when nobody is reading a drawing. Load goes through an internal aluminium profile spine, not the shell, on anything tall. The mechanics of splitting, keying and bonding are covered in more depth in our piece on printing pieces larger than the printer.
Event work adds a habit at the bench. Every piece gets fully dry-assembled in the workshop before any finishing starts, and every section and mating face gets numbered while it stands there. The joints are then filled and painted last, after that assembly and disassembly, because filler applied to a section on its own never lines up once the two halves are clamped. On a prop joined at the venue rather than in the workshop we leave the seam unfinished on purpose and touch it in on site, which is why a small bottle of the exact paint travels in the crate.
Brand colour and finish under stand lighting
Matte or satin is the default for event props, and that is a lighting decision. Stand and atrium lighting is hard, close and often pointed straight down the surface, which is exactly the angle that reveals every ripple a gloss coat would amplify. A satin finish hides residual layer texture that gloss would put on display.
Brand colour approval works better when the reference is a physical coated sample rather than a screen value or a print from a laser printer. A sprayed acrylic on plastic and the same colour on paper or on a backlit screen do not look like the same colour standing side by side in a hall, and the argument about that is better had in the workshop than at load-in.
On anything visitors handle, a clear coat goes over the colour. Fingerprints, sunscreen and hand sanitiser all attack uncoated paint, and a hero prop that looks greasy by day two of a five-day activation has failed even though nothing broke.
Getting it to the venue and standing it up
Crates get built around the sections, not bought to fit them. Sections travel on foam and are never stacked face down on a painted surface. Measure the service lift, the loading door and the corridor turn, because plenty of Dubai venues have a generous hall reached through a door that will not take a 2.4 m panel, and load-in windows are frequently overnight with a hard end time.
The install kit that goes with the crate is short and always the same. Cyanoacrylate with activator for fast tacks, two-part epoxy for anything structural, the matched touch-up paint, a few grades of abrasive paper, gloves, and spares of any small printed element that could snap. That last item exists because a broken tab at 2 am with doors opening at 9 is the one failure nobody has a plan for, and a spare part in a crate costs less than a courier at dawn.
Outdoor installs add ballast. A large hollow printed shape weighs very little and behaves like a sail in an open courtyard, so the base gets weighted or bolted, and we would rather design the anchor points in than drill them on site.
What brands order for activations
The recurring requests are oversized product replicas for photo moments, dimensional logos and letters, sculptural centrepieces and art installations for launches, toppers and inserts for retail displays, props and mockups sitting on an exhibition booth, costume and headpiece elements for performers, trophies and limited gifting items, scale architectural models for property stands, and patterns used to cast or mould something else. Some of it leaves here finished, and some of it is a printed pattern that goes on to a fabricator.
Single show and touring jobs get specified differently. A piece that lives in one hall for three days can be lighter, thinner and finished for one viewing angle. A piece that gets packed and unpacked eight times needs thicker walls, mechanical fasteners instead of glue at the main joints, and a finish that survives a different crew in every city. That decision belongs at the start, because retrofitting a touring spec onto a one-show build means printing it again.
If you have a file, a sketch or a photo of a reference object, send it over and we will come back with a technology, a material and a realistic sequence for your date. Every project is quoted after we see the geometry, because the same silhouette at two different finish levels is two different jobs.
FAQ
Which material is best for 3D printed event props?
It depends on where the prop lives. Indoors, away from hot lighting and travelling in an air-conditioned vehicle, PLA is acceptable and prints fast. For anything visitors touch, PETG is the usual choice for its impact strength and roughly 80 °C glass transition. Outdoors we default to ASA, which is formulated for UV exposure, with a UV-resistant clear coat over it anyway. Functional clips and flexing parts go in PA12 nylon, printed from dried filament, and fine detail goes in resin kept out of direct sun.
How long does it take to make props for an event in Dubai?
The printing is the predictable part, and it typically runs overnight across several machines. File repair, the finishing loop and colour sign-off are what move. A surface that has to look sprayed rather than printed goes through fill, sand and prime three or four times, and that often takes longer than the printing did. Send the file and the date together and we will tell you which finish level the date allows.
Will a 3D printed prop survive outdoors in Dubai?
For the duration of an activation, yes, if it is specified for it. UV-stable material, a clear coat, drain holes anywhere water can pool, and ballast against wind cover most of it. We do not describe any outdoor finish as permanent. Sun, heat, blown sand and coastal humidity all work on a polymer surface continuously, and a piece meant to stand outside for a year is a different specification from one meant to stand outside for a weekend.
What is the largest prop you can print?
Larger than any single printer, because anything over the build chamber is printed in sections and assembled into one object. In practice we work from about 5 cm up to constructions around 15 m. The real constraints on big pieces are usually the venue rather than the printer: the service lift, the loading door, the load-in window, and whether the hall floor will take the base loading.
What decides the cost of a printed prop?
Volume of material rather than outside dimensions, which is why a hollow shell with internal ribs costs a fraction of the same shape printed at high infill. Then material choice, layer height, how much support the orientation demands and how long support removal takes, the number of sections and the assembly work they need, the finish level, and how tight the date is. Rush work costs more because it displaces other jobs on the machines and pulls people onto the bench at night. Every prop is quoted after we see the geometry.